Problems with Epoxy Floors (and How to Fix Them)
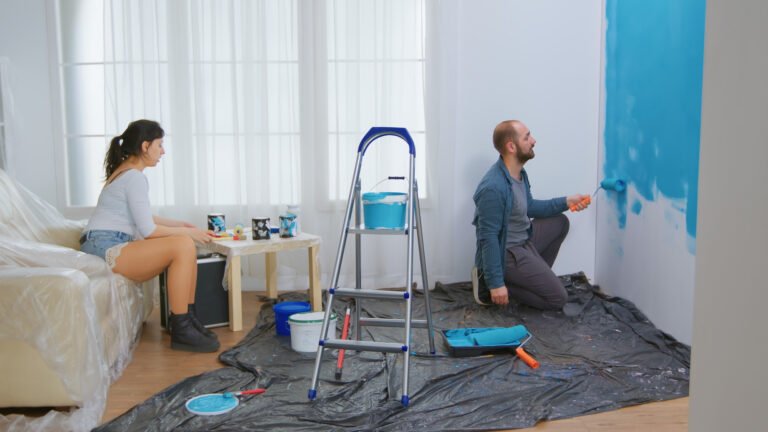
Epoxy floors are often praised as durable, attractive, and relatively affordable compared to other flooring options. That’s why they’re popular in garages, basements, workshops, and even modern kitchens. In fact, the global epoxy flooring market is projected to grow steadily over the next decade, fueled by both residential and commercial demand.
But here’s the catch: many homeowners only learn about epoxy’s challenges after installation. Poor preparation, humidity, or even sunlight exposure can quickly turn a sleek, shiny floor into a costly headache.
If you’re considering epoxy for your home, it’s worth understanding its potential downsides first — and more importantly, how to avoid them.
Common problems with epoxy floors include peeling, bubbling, cracking, slippery surfaces, fading, and moisture issues. These problems usually happen due to poor installation, surface preparation, or environmental conditions. Here are the most common issues to watch out for:
- Peeling
- Bubbling
- Cracking
- Slippery surface
- Fading/discoloration
- Moisture problems
1. Peeling
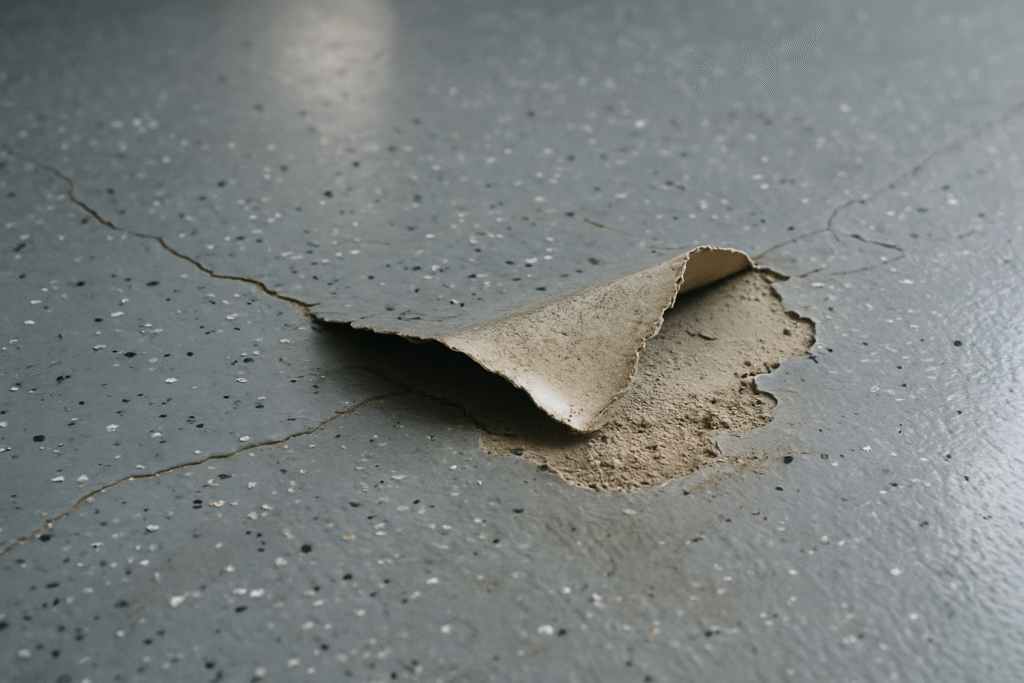
The problem: Epoxy often peels when the surface isn’t properly prepared. Residual oil, dust, or previous coatings prevent the epoxy from bonding to the concrete. In garages, this is one of the most common failures.
The fix:
- Thoroughly clean and grind the surface before applying epoxy.
- Apply a bonding primer to increase adhesion.
- For existing peeling, sand the damaged area and reapply epoxy.
Cost impact: Minor repairs may cost $50–$100 in materials, but if the entire floor is peeling, a full reinstallation could cost thousands.
2. Bubbling
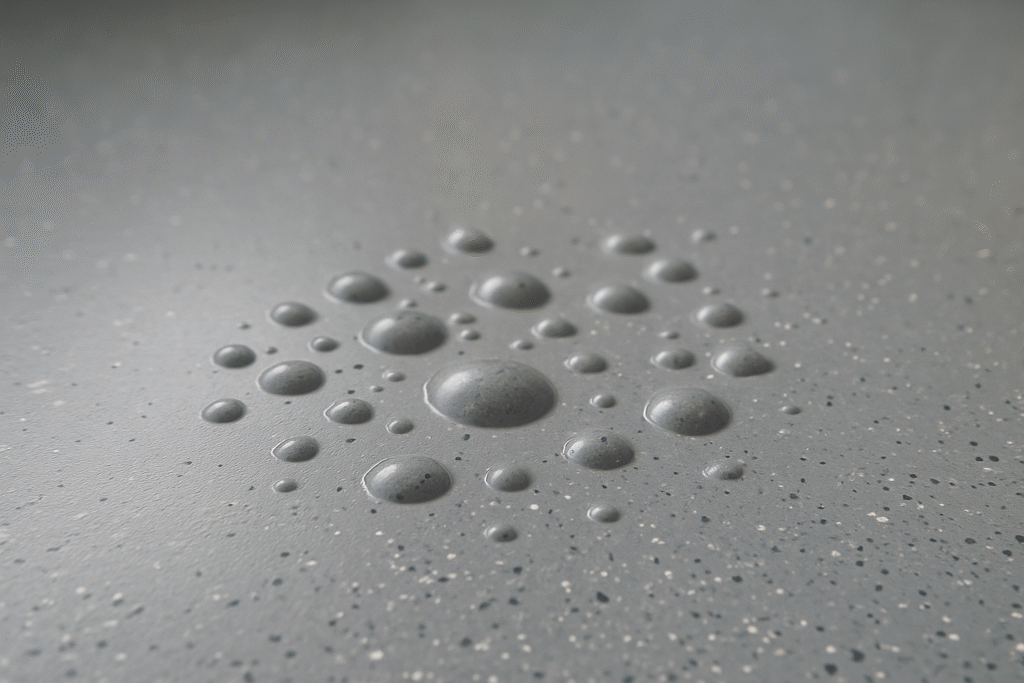
The problem: Air bubbles form in epoxy when applied in humid conditions or without proper technique. This creates an uneven, bumpy look that ruins the seamless finish.
The fix:
- Keep humidity below 85% during installation.
- Use a spike roller to release air pockets.
- For bubbled floors, sanding and recoating is usually required.
Scenario: A basement with high humidity in summer is highly prone to bubbling unless dehumidifiers are used.
3. Cracking
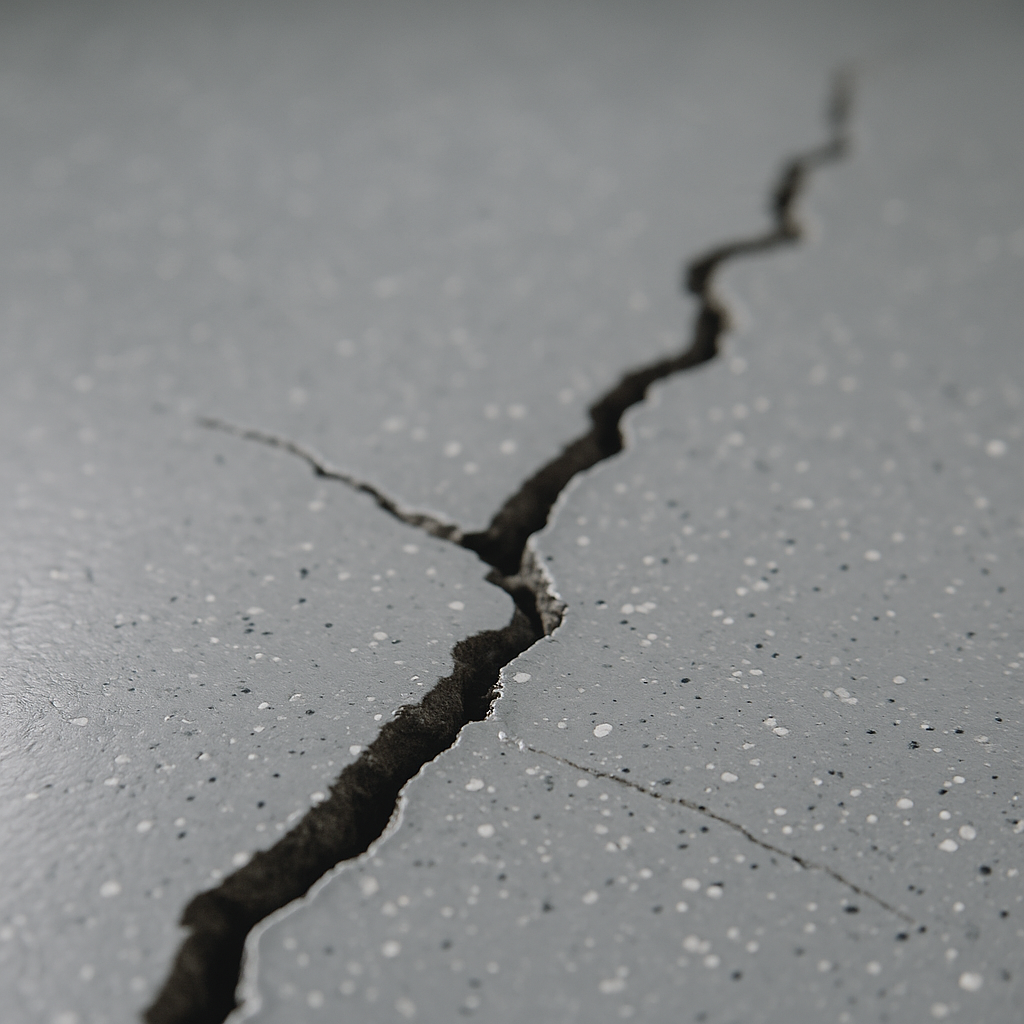
The problem: Epoxy is rigid and doesn’t flex with concrete. If the underlying slab shifts or cracks, the epoxy will crack too. Heavy impacts — like dropping tools in a garage — can also chip the surface.
The fix:
- Repair cracks before coating.
- Use flexible epoxy or polyurethane topcoats for impact-heavy areas.
- Add mats or rugs in workshop zones.
Cost note: Filling small cracks is inexpensive. Recoating after deep cracks can raise costs by 20–30%.
4. Slippery Surface
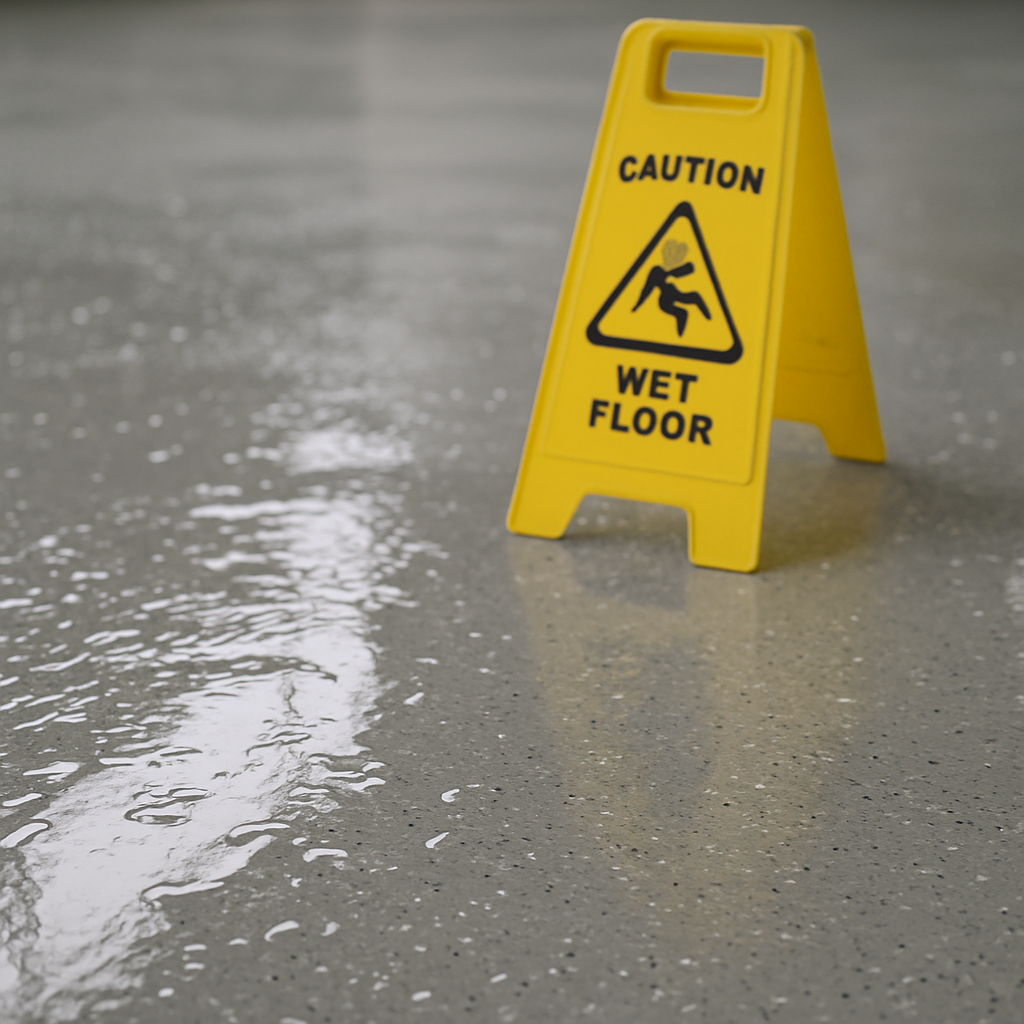
The problem: Glossy epoxy is smooth, which can make it dangerously slippery when wet — especially in kitchens, bathrooms, or laundry rooms.
The fix:
- Mix in non-slip additives (quartz sand, aluminum oxide, or polymer grit).
- Place mats in high-traffic or spill-prone areas.
Safety insight: Non-slip additives add very little cost but dramatically improve safety, especially in homes with kids or elderly residents.
5. Fading & Discoloration
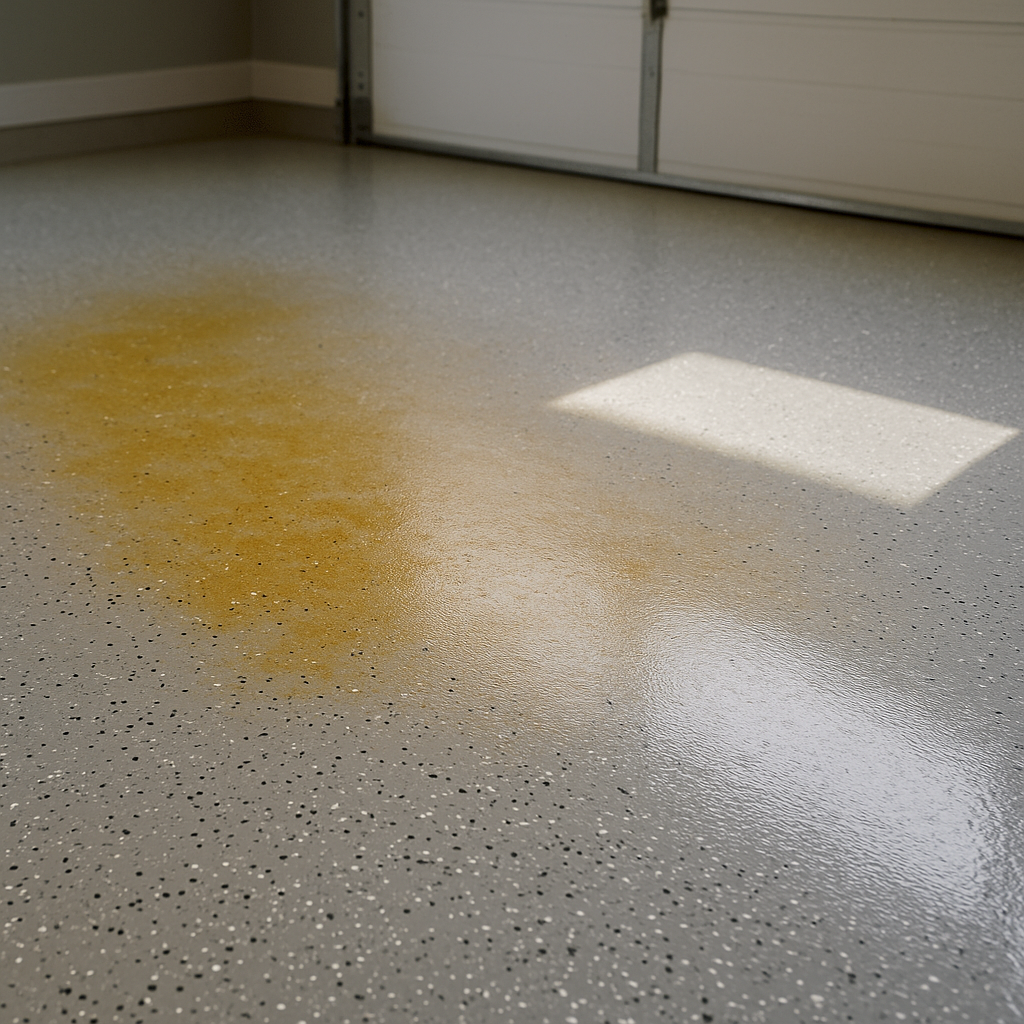
The problem: Epoxy is sensitive to UV rays. Sunlight can yellow, chalk, or fade the surface over time. Cleaning with harsh chemicals can also stain or dull the finish.
According to the Concrete Network, UV exposure is one of the leading causes of epoxy discoloration, especially in garages with direct sunlight.
The fix:
- Apply a UV-resistant topcoat.
- Use only mild cleaners designed for epoxy.
Scenario: A garage with windows that face direct sunlight may need recoating in as little as 3–5 years without UV protection.
6. Moisture Problems
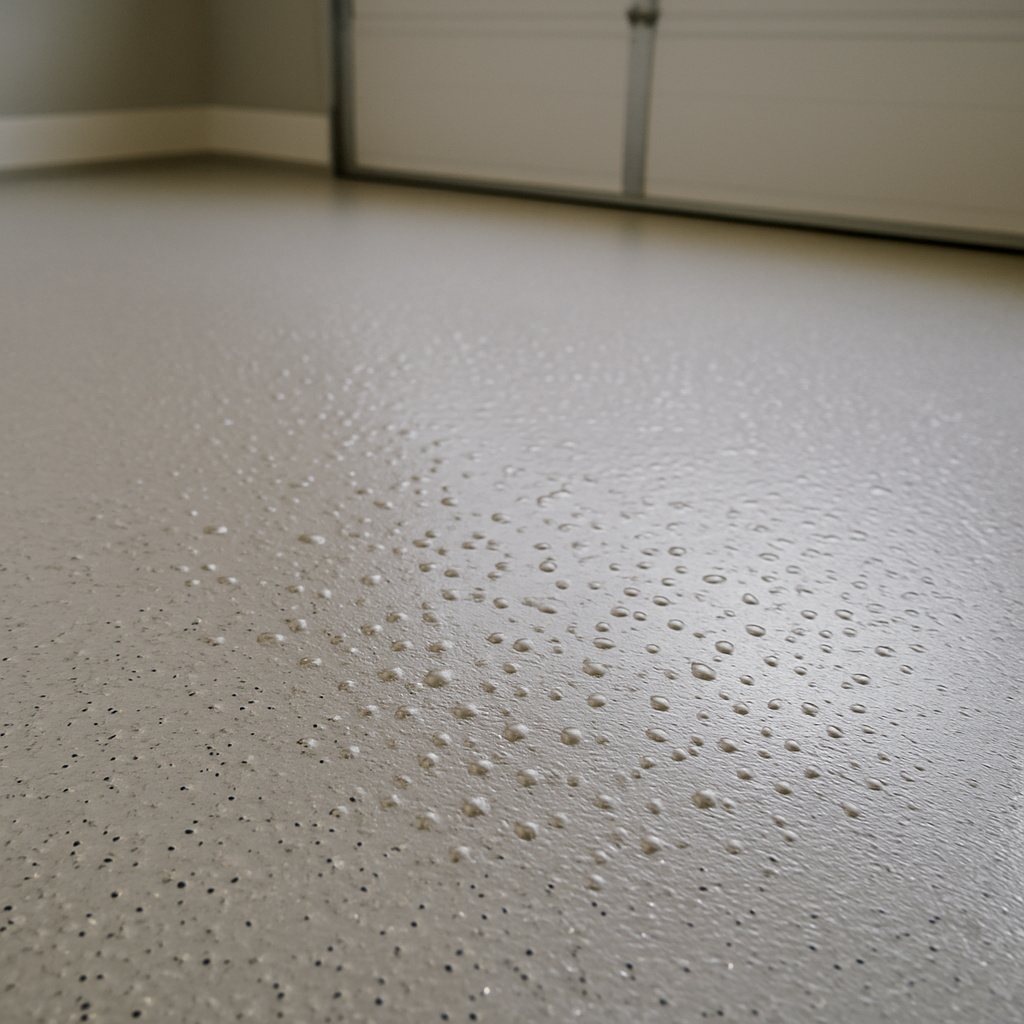
The problem: High moisture in concrete can cause epoxy to fail. Water vapor pushes upward, creating bubbles, peeling, or improper curing. This is especially common in basements and humid climates.
The fix:
- Perform a moisture test before installation.
- Use vapor barriers or moisture-blocking primers.
- In problem-prone areas, dehumidifiers may be necessary.
Prevention tip: Skipping the moisture test is one of the biggest mistakes DIY installers make.
Pros and Cons of Epoxy Floors
| Pros | Cons |
|---|---|
| Highly durable | Can peel if not installed properly |
| Easy to clean | Slippery when wet |
| Attractive finish | Sensitive to UV fading |
| Affordable vs. tile | Cracks with shifting concrete |
| Resistant to chemicals | Moisture-sensitive during installation |
How to Prevent Epoxy Problems (Checklist)
Before you install epoxy, run through this quick checklist:
- Moisture test – Use a plastic sheet or moisture meter to check the concrete.
- Crack repair – Patch cracks and fill gaps before coating.
- Surface prep – Grind, etch, or clean thoroughly.
- Primer – Always use a bonding primer for adhesion.
- Additives – Consider non-slip and UV-resistant additives.
- Environment check – Keep humidity and temperature in the right range.
- Plan materials correctly – Use a flooring calculator to avoid overbuying or underbuying.
Try Homechisel’s Flooring Calculator to plan your epoxy project step by step. It helps you estimate material needs, costs, and even prep work
FAQs About Epoxy Floors
Are epoxy floors high maintenance?
No. Once installed properly, epoxy is easy to clean with a mop or broom. However, high-traffic areas may need recoating every 5–10 years.
Do epoxy floors last long?
Yes. With correct prep and installation, epoxy floors last 10–20 years. Without it, problems can appear in the first year.
Can epoxy floors be repaired?
Yes. Minor chips or faded spots can be sanded and recoated. Major failures, like widespread peeling, require full reinstallation.
Is epoxy better than tiles or vinyl?
It depends. Epoxy is cheaper and seamless, but tiles and vinyl are more flexible and UV-resistant.
How much does epoxy flooring cost?
DIY kits can cost $2–$5 per square foot. Professional installation usually runs $5–$12 per square foot, depending on prep and finishes.
Epoxy floors can be an excellent choice if you understand both their strengths and their weaknesses. Most problems — peeling, bubbling, cracking, and fading — come down to poor preparation or environmental conditions.
The good news? With the right prep and planning, these issues are avoidable.
👉 Before starting your epoxy project, use Homechisel’s Flooring Calculator to estimate costs and materials. It’s the easiest way to avoid surprises and make sure your floor lasts for years.
Grid
Budget-Friendly Renovation Ideas Using Only Lighting, Paint, and Flooring

Bedroom Renovation Ideas: Matching Floor Color, Paint, and Lighting
Living Room Renovation Ideas Using Lighting, Wall Colors, and Flooring
Small Room Flooring Ideas That Make Spaces Look Bigger
Flooring Ideas That Add Value: Best Floor Types for Every Room